
-
Electrical winding Step One
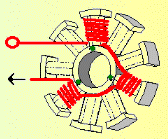
Choose stator side with 3 points. Use 2mm wire and fold it double. Leaving 10cm as lead wire, start winding clockwise.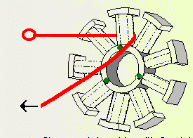
Electrical winding instruction one -
Electrical winding Step Two
Wind 16 turns on the first tooth, with 4 layers of 4 turns each, ending the last turn in the middle of the stator.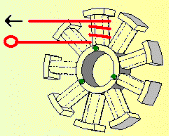
Electrical winding instruction two -
Electrical winding Step Three
When finished with the first tooth, skip 2 teeth and wind 16 turns on the 4th tooth, exactly the same as the first one.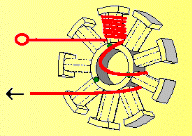
Electrical winding instruction three -
Electrical winding Step Four
The winding direction must also be clockwise.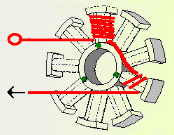
Electrical winding instruction four -
Electrical winding Step Five
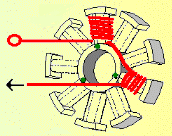
Electrical winding instruction five -
Electrical winding Step Six
When finished with the 4th tooth, again skip 2 teeth and go to the 7th tooth.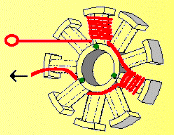
Electrical winding instruction six -
Electrical winding Step Seven
Now wind the 7th tooth the same as the previous two teeth.
Electrical winding instruction seven -
Electrical winding Step Eight
The first phase is now finished. Prepare another wire and wind the 2nd, 5th and 6th teeth. See next figure.
Electrical winding instruction eight -
Electrical winding Step Nine
Finally, wind the 3 remaining teeth. Leaving 15mm, cut the 3 remaining ends of the wires, scrape the enamel off, twist together and solder. Insulate with a short piece of heat shrink tubing. Put heat shrink tubing on the 3 lead wires.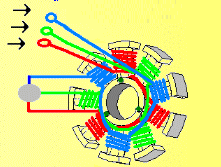
Electrical winding instruction nine
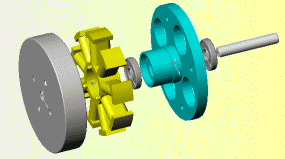
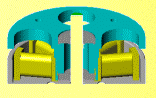
Assenting the motor: Insert the motor shaft into the magnet bell and use loctite to secure t. Use Loctite to secure the stator and bearings to the bearing housing.